


 English
  中文简体
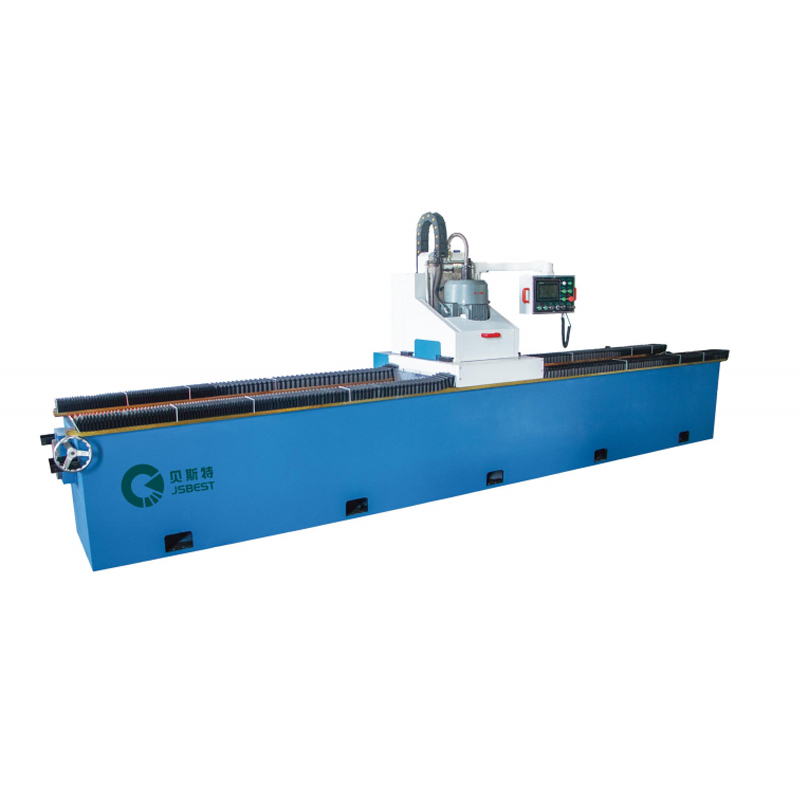
中文简体 • The CNC Knife Grinding Machine adopts PLC program control, which is easy to operate, fast, stable,...
See DetailsWhat are the specific steps for using a Rewinding Knife Grinding Machine?
Industry News-Content
- 1 Understanding the Machine Before You Begin
- 2 Step 1 — Pre-Operation Safety Inspection
- 3 Step 2 — Machine Setup and Parameter Configuration
- 4 Step 3 — Blade Inspection and Preparation Before Mounting
- 5 Step 4 — Mounting and Aligning the Blade
- 6 Step 5 — Starting the Machine and Executing the Grinding Pass
- 7 Step 6 — Grinding Wheel Dressing During Operation
- 8 Step 7 — Post-Grind Edge Inspection and Quality Verification
- 9 Step 8 — Machine Shutdown and Post-Operation Maintenance
- 10 Grinding Different Blade Materials: Key Adjustments
- 11 Common Problems During Rewinding Knife Grinding and How to Solve Them
- 12 Safety Rules That Must Never Be Overlooked
- 13 Summary: The Complete Step-by-Step Process at a Glance
Using a rewinding knife grinding machine correctly involves six essential phases: pre-operation inspection, machine setup and parameter configuration, blade mounting and alignment, grinding execution with continuous monitoring, post-grind inspection, and machine shutdown with maintenance. Each phase contains specific sub-steps that must be followed in sequence to achieve a consistently sharp, accurately ground scraper blade while protecting both the operator and the equipment.
Rewinding knife grinding machines — such as those in the MCD series — use a unique rewinding grinding method in which the blade is continuously fed and re-engaged with the grinding wheel in a controlled reciprocating motion. This differs from conventional single-pass grinders and requires operator familiarity with feed rate, grinding angle, and tension settings to produce optimal results. The following guide walks through every step in practical detail.
Understanding the Machine Before You Begin
Before operating any rewinding knife grinding machine, it is important to understand its key functional components. Familiarity with the machine layout prevents setup errors and makes it easier to diagnose problems during grinding.
Main Components and Their Functions
- Grinding wheel or grinding stone: The abrasive element that contacts and sharpens the blade edge. Grit size typically ranges from 60 to 220, with coarser grits used for reshaping damaged blades and finer grits for finish honing.
- Rewinding mechanism: The feed system that continuously advances and re-feeds the scraper blade past the grinding surface, enabling even wear and stable contact pressure throughout the grinding pass.
- Blade clamp and guide rails: Fixtures that hold the blade at a fixed angle and prevent lateral movement during grinding, ensuring a consistent bevel angle across the full blade length.
- Angle adjustment system: A mechanical or digital mechanism for setting the grinding angle, typically adjustable between 15° and 45° depending on blade type and intended application.
- Motor and drive system: Powers both the grinding wheel rotation and the rewinding feed mechanism. Motor specifications on commercial rewinding grinders commonly range from 0.75 kW to 3 kW.
- Coolant system (where fitted): Delivers water-based or oil-based coolant to the grinding zone to reduce heat buildup, prevent blade temper loss, and flush away grinding swarf.
- Control panel: Provides switches for motor start/stop, feed speed adjustment, grinding depth setting, and emergency stop functions.
Taking 10 to 15 minutes to review the operator's manual for your specific machine model before first use is strongly recommended. Different rewinding knife grinder configurations handle blade widths from as narrow as 20 mm to as wide as 3,000 mm or more, and setup procedures vary accordingly.
Step 1 — Pre-Operation Safety Inspection
Never start any grinding operation without first completing a thorough pre-operation inspection. Skipping this step is the leading cause of grinding accidents, poor blade quality, and premature equipment wear.
Inspect the Grinding Wheel
The grinding wheel must be checked before every session. Conduct a visual inspection for chips, cracks, uneven wear, or glazing (a smooth, shiny surface that indicates the wheel has loaded up with metal particles and is no longer cutting effectively). Tap the wheel gently with a non-metallic object — a properly bonded wheel produces a clear ring tone; a cracked wheel produces a dull thud and must be replaced immediately.
Check that the wheel is correctly rated for the machine's spindle speed. The maximum operating speed (in RPM) printed on the wheel label must equal or exceed the machine's spindle RPM. Operating a wheel above its rated speed can cause catastrophic wheel failure.
Check Mechanical Condition
- Verify that all guards and covers are in place and properly fastened.
- Check that the blade clamps and guide rails move freely without binding and lock securely when tightened.
- Inspect the rewinding feed mechanism for smooth, unobstructed movement. Any jerking or resistance suggests a lubrication or alignment issue that must be resolved before proceeding.
- Check all electrical connections for visible damage to cables or plugs.
- Verify that the emergency stop button is accessible and functional — press and release it to confirm operation before starting the main motor.
Check Coolant System
If the machine is equipped with a coolant system, verify that the coolant reservoir contains sufficient fluid (typically a minimum of 70% fill level), that the coolant pump operates correctly, and that nozzles are aimed at the grinding contact zone. Insufficient coolant flow during grinding can cause the blade to overheat, losing its hardness and temper in as little as 30 to 60 seconds of continuous contact.
Personal Protective Equipment (PPE)
Put on all required PPE before proceeding:
- Safety glasses or face shield — grinding sparks and swarf are unavoidable
- Cut-resistant gloves when handling blades; remove gloves when operating machine controls
- Hearing protection if the grinding noise level exceeds 85 dB(A)
- Dust mask or respirator if grinding produces fine metallic or composite dust
Step 2 — Machine Setup and Parameter Configuration
With the pre-inspection complete, configure the machine for the specific blade to be ground. Correct parameter settings are critical — wrong settings produce either an incorrectly angled edge, excessive material removal, or surface damage.
Setting the Grinding Angle
The grinding angle determines the geometry of the blade bevel and directly affects cutting performance and edge durability. Use the angle adjustment mechanism to set the correct angle for your blade type. Common reference angles are:
| Blade Type / Application | Recommended Grinding Angle | Notes |
|---|---|---|
| Doctor blade (paper/printing) | 25°–35° | Lower angle for softer substrates |
| Metal scraper blade | 30°–40° | Higher angle improves edge durability |
| Plastic scraper / coating blade | 20°–30° | Shallower angle prevents chipping |
| Heavy-duty industrial scraper | 35°–45° | Robust edge for high-load applications |
| Foil / thin film blade | 15°–25° | Very fine edge; use fine grit wheel |
Verify the angle setting with a precision angle gauge or protractor before inserting the blade. An angular error of even 2° to 3° can noticeably affect blade performance in precision coating or printing applications.
Selecting Grinding Depth (Infeed)
The grinding depth — how much material the wheel removes per pass — must be set conservatively. For rewinding knife grinding machines, recommended infeed settings are typically:
- Rough grinding (heavy damage, reshaping): 0.05 mm to 0.10 mm per pass
- Medium grinding (general resharpening): 0.02 mm to 0.05 mm per pass
- Finish grinding / honing: 0.005 mm to 0.02 mm per pass
Excessive infeed generates heat, causes wheel loading, and risks burning the blade edge. It is always better to take multiple light passes than one aggressive cut.
Setting Feed Speed
The rewinding feed speed controls how fast the blade travels past the grinding wheel. Slower feed speeds produce a finer surface finish but increase the risk of localized heat buildup. Faster feeds reduce heat but may leave a coarser surface. A typical starting feed rate for general scraper blade grinding is 1 to 3 meters per minute, adjusted based on blade material and wheel grit.
Step 3 — Blade Inspection and Preparation Before Mounting
Before placing the blade in the machine, inspect and prepare it carefully. Mounting a dirty, bent, or incorrectly measured blade wastes grinding time and can damage the wheel or produce an unusable edge.
Clean the Blade
Remove all ink residue, coating buildup, rust, grease, or adhesive from the blade surface and especially from the edge to be ground. Use an appropriate solvent cleaner and a clean cloth. Contaminants on the blade can transfer to the grinding wheel, causing premature wheel loading and uneven grinding.
Check for Blade Flatness and Straightness
A warped or bowed blade cannot be ground to a consistent edge. Lay the blade on a reference surface plate and check for flatness along its full length. Blades with a bow exceeding 0.3 mm per meter of length may need to be straightened before grinding, or the resulting edge will be uneven. Some rewinding grinders have a clamping system that can partially compensate for slight bow, but severely warped blades should be straightened first.
Measure the Blade Dimensions
Record the blade's length, width, and thickness. Confirm these dimensions are within the machine's specified capacity. If the blade is narrower or shorter than the machine's minimum specification, it may not feed correctly through the rewinding mechanism and could jam or be damaged.
Step 4 — Mounting and Aligning the Blade
Correct blade mounting is the step most directly responsible for grinding accuracy. Even small misalignments at this stage translate into angular errors or uneven grinding across the blade length.
Load the Blade into the Clamp System
- Open the blade clamp jaws fully and clean the clamping surfaces with a lint-free cloth to remove any swarf or debris from previous operations.
- Slide the blade into the guide channel with the edge to be ground facing toward the grinding wheel. Ensure the blade back (non-ground edge) is seated firmly against the reference stop.
- Apply clamping pressure evenly and progressively along the full blade length. Do not over-tighten in one location, as this can bow the blade under the clamp.
- For wide blades (over 500 mm), use multiple clamp points at intervals no greater than 200 mm to ensure consistent support along the entire length.
Align the Blade Edge to the Grinding Wheel
With the blade clamped, perform the initial edge-to-wheel alignment:
- Jog the blade forward manually (motor off) until the edge just contacts the stationary grinding wheel face. This is the zero reference position.
- Retract the blade by 0.5 mm to 1.0 mm from the zero position. This gap prevents the blade from digging into the wheel when the motor starts.
- Verify that the blade edge is parallel to the grinding wheel face along the full blade width. Use a feeler gauge or dial indicator to check the gap at both ends of the blade. A difference of more than 0.05 mm between the two ends indicates the blade is not level and must be re-adjusted before proceeding.
Thread the Blade Through the Rewinding Mechanism
For machines that use a continuous rewinding feed path, thread the blade through the entry guide, past the grinding zone, through any intermediate support rollers, and into the exit/rewind section. Ensure the blade lies flat in all guide channels with no twisting or kinking along its path. Adjust guide roller tension as specified for the blade material — softer materials like plastic blades require lighter guide pressure to avoid surface marking.
Step 5 — Starting the Machine and Executing the Grinding Pass
With the blade mounted and aligned, and all parameters set, you are ready to begin grinding. Follow this sequence precisely to ensure a safe and effective result.
Starting Sequence
- Start the coolant pump first (if applicable) and verify that coolant is flowing to the grinding zone before the wheel begins rotating.
- Start the grinding wheel motor and allow it to reach full speed before engaging the blade feed. A typical grinding wheel takes 5 to 15 seconds to reach rated RPM.
- Engage the rewinding feed drive at the lowest speed setting first. Observe the blade entering the grinding zone and verify that contact is occurring along the full width of the blade.
- Gradually increase feed speed to the pre-selected operating rate.
- Stand to the side of the machine — never directly in front of the grinding wheel — during the initial engagement.
Monitoring During Grinding
Active monitoring throughout each pass is essential. Watch and listen for the following indicators:
- Spark pattern: A consistent, moderate spark shower along the full blade width indicates even grinding contact. Sparks concentrated at one end suggest misalignment. No sparks with wheel contact indicate a glazed wheel that needs dressing.
- Sound: A steady, even grinding tone is normal. Intermittent contact, chattering, or squealing indicates vibration, blade flutter, or insufficient clamping tension.
- Heat: Touch-test the blade back (not the edge) after the first pass. The blade should be warm to the touch but not hot. If it is too hot to hold briefly, reduce infeed depth or increase coolant flow immediately.
- Blade discoloration: Blue or brown heat marks on the blade near the ground edge indicate thermal damage (burning). Stop immediately, increase cooling, and reduce grinding aggressiveness.
- Feed consistency: The rewinding mechanism should advance the blade smoothly and at a constant rate. Any hesitation or surging suggests a tension or drive problem that must be addressed before continuing.
Completing Multiple Passes
For most resharpening jobs, 3 to 6 grinding passes are required to produce a finished edge. After each pass:
- Retract the blade from the wheel by reversing the feed or using the retract control.
- Advance the infeed by the specified depth for the next pass.
- Allow the blade to cool for 30 to 60 seconds between passes if not using coolant.
- Visually inspect the edge progress after each pass using a magnifying glass or edge inspection light.
Reduce infeed progressively as you approach the finished dimension — switch from coarse infeed to medium, then to finish infeed for the final one or two passes. This produces a smoother surface finish and minimizes burr formation at the edge.
Step 6 — Grinding Wheel Dressing During Operation
Over time, the grinding wheel becomes loaded with metal particles and loses its cutting ability — a condition called glazing. It may also wear unevenly, developing ridges or a non-flat profile. Wheel dressing restores the wheel to a flat, open-grit cutting surface and must be performed at regular intervals during extended grinding sessions.
When to Dress the Wheel
- When the spark shower during grinding becomes noticeably reduced despite correct infeed settings
- When the grinding sound becomes higher-pitched or squealing (indicating a smooth, glazed surface)
- When the blade edge shows uneven grinding or a stepped profile
- As a preventive measure every 2 to 4 hours of cumulative grinding time, even if no visible signs of glazing are present
Dressing Procedure
- Remove the blade from the machine or retract it fully clear of the grinding wheel.
- Mount the wheel dresser (diamond dresser or star-wheel dresser) in the dressing fixture on the machine.
- With the wheel spinning at full speed, advance the dresser into contact with the wheel face by 0.02 to 0.05 mm per dressing pass.
- Traverse the dresser slowly across the full width of the wheel at a rate of approximately 100 to 200 mm per minute.
- Repeat for 2 to 3 passes until the wheel face appears uniformly rough and fresh abrasive grit is exposed.
- Remove the dresser, clean away any dressing swarf, and return to the blade grinding setup.
Step 7 — Post-Grind Edge Inspection and Quality Verification
After completing all grinding passes, a systematic inspection of the ground edge is essential before the blade is returned to service. This step catches defects that can only be seen up close and verifies that the grinding process achieved its intended result.
Visual Inspection
Use good lighting (a focused inspection lamp, not overhead fluorescent lighting) and a magnifying glass of at least 10× magnification to examine the edge along its full length. Look for:
- Wire edge / burr: A thin foil of metal folded over the edge tip, detectable by running a finger lightly along the flat face of the blade near the edge. Burrs must be removed by honing.
- Chipping or micro-nicks: Small V-shaped notches in the edge, visible under magnification. Minor chipping can sometimes be ground out with an additional light pass; severe chipping may require returning to rough grinding.
- Grinding burn marks: Blue, brown, or black discoloration on the bevel face indicating heat damage. Burned areas have reduced hardness and the blade section should be re-ground to remove the affected material.
- Uneven bevel width: The bevel face should be of uniform width along the full blade length. Width variations indicate the blade was not held perfectly parallel to the wheel during grinding.
Dimensional Verification
For precision applications, measure the bevel angle with a digital protractor or optical angle gauge and compare it against the specification. Also measure the remaining blade width — each resharpening removes material, and blades eventually reach a minimum usable width. As a general guideline, a scraper blade that has been ground down to less than 60% of its original width should be retired and replaced.
Deburring and Final Honing
Remove any wire edge by drawing the blade flat face lightly across a fine honing stone (600 to 1000 grit) two to three times. This collapses any remaining burr without removing blade material. For critical applications such as precision coating or high-quality printing doctor blades, a final strop on a leather honing block further refines the edge and produces a mirror-like finish at the cutting tip.
Step 8 — Machine Shutdown and Post-Operation Maintenance
Proper shutdown and post-operation care directly affects the machine's long-term reliability and the quality of future grinding operations. Do not simply switch the machine off and walk away.
Shutdown Sequence
- Retract the blade fully from the grinding zone and switch off the feed drive.
- Allow the grinding wheel to run without load for 30 to 60 seconds before switching off the motor. This allows the wheel to shed any coolant absorbed during grinding and reduces the risk of wheel imbalance developing during storage.
- Switch off the coolant pump after the wheel has stopped, to avoid coolant pooling at the bottom of the wheel and causing uneven weight distribution.
- Remove the ground blade from the clamp using cut-resistant gloves and store it safely, edge-protected, until it is returned to service.
Cleaning the Machine
After every grinding session, clean the machine thoroughly:
- Remove grinding swarf (metal filings) from the work area, guide channels, and clamping surfaces using a brush — never use compressed air, which blows abrasive particles into bearings and guide surfaces.
- Wipe down all guide rails and sliding surfaces with a clean cloth, then apply a thin film of machine oil to prevent corrosion and ensure smooth movement in the next session.
- Clean the coolant reservoir filter if the machine is used daily. Replace coolant fluid entirely every 2 to 4 weeks of regular use, as the fluid becomes contaminated with metal particles and bacteria over time.
- Inspect the grinding wheel for visible damage and cover it with the protective guard before leaving the machine unattended.
Routine Maintenance Schedule
| Maintenance Task | Frequency | Notes |
|---|---|---|
| Remove swarf and clean guide channels | After every session | Use brush, not compressed air |
| Oil guide rails and sliding surfaces | After every session | Light machine oil; wipe off excess |
| Inspect and dress grinding wheel | Every 2–4 hours of use | Also dress if glazing symptoms appear |
| Clean coolant filter | Daily (heavy use) / Weekly | Blocked filter reduces coolant flow |
| Replace coolant fluid | Every 2–4 weeks | Dispose of used coolant per local regulations |
| Check feed drive belt / chain tension | Monthly | Adjust per manufacturer specification |
| Lubricate bearings and lead screw | Monthly | Use grease type specified in manual |
| Verify angle reference accuracy | Monthly | Check with calibrated protractor |
| Full mechanical inspection and overhaul | Annually | By qualified technician |
Grinding Different Blade Materials: Key Adjustments
One of the key advantages of rewinding knife grinding machines is their ability to process blades made from a wide range of materials — from hardened steel and stainless alloys to plastic composites. However, each material requires specific parameter adjustments to achieve the best result.
Hardened Steel and High-Speed Steel Blades
Steel blades require careful heat management. Use a white aluminum oxide or CBN (cubic boron nitride) grinding wheel, which cuts aggressively with less heat generation than standard gray aluminum oxide wheels. Infeed should be kept below 0.05 mm per pass for high-speed steel to avoid tempering the edge. Abundant coolant flow is essential — a minimum of 5 liters per minute directed at the contact zone is recommended for continuous grinding of steel doctor blades.
Stainless Steel Blades
Stainless steel tends to work-harden at the grinding surface if the wheel dulls or feed rate is too slow. Use a sharp, freshly dressed wheel and maintain a consistent feed rate. Reduce infeed to 0.02 to 0.03 mm per pass for finish grinding and use a sulfurized cutting oil coolant for better lubrication than water-based alternatives.
Plastic and Composite Blades
Plastic blades (polyurethane, UHMW-PE, nylon composites) require a completely different approach. Use a silicon carbide grinding wheel with a finer grit (180–220) and significantly reduce the wheel speed to 50% to 70% of the standard setting to avoid frictional melting. Do not use coolant with most plastic blades — water can cause swelling in hygroscopic materials; instead, use an air blast to cool the contact zone and remove chips. Infeed should be very light — 0.01 to 0.02 mm per pass — and multiple fine passes are preferred over fewer aggressive cuts.
Common Problems During Rewinding Knife Grinding and How to Solve Them
Even experienced operators encounter problems during grinding. The table below lists the most common issues, their likely causes, and corrective actions.
| Problem | Likely Cause | Corrective Action |
|---|---|---|
| Uneven bevel width along blade | Blade not parallel to wheel; warped blade | Re-align blade; check and correct flatness |
| Blue discoloration on edge | Excessive heat; insufficient coolant; infeed too deep | Increase coolant; reduce infeed; re-dress wheel |
| Chatter marks on bevel face | Insufficient clamping; blade vibration; unbalanced wheel | Increase clamping pressure; balance or dress wheel |
| No material being removed | Glazed wheel; insufficient infeed; wheel too hard for material | Dress wheel; increase infeed; change to softer wheel grade |
| Blade jamming in feed path | Swarf buildup; misaligned guide; blade too wide/thin | Clean feed path; realign guides; verify blade dimensions |
| Excessive burr after grinding | Wheel too soft; feed speed too slow; final infeed too large | Use harder wheel; increase feed; reduce final pass infeed |
| Inconsistent edge sharpness | Variable feed speed; contaminated coolant; worn wheel | Check and stabilize feed drive; replace coolant; dress or replace wheel |
Safety Rules That Must Never Be Overlooked
Grinding machines are among the higher-risk tools in an industrial workshop. The following safety rules are non-negotiable and apply at all times when operating a rewinding knife grinding machine:
- Never remove or bypass grinding wheel guards. The guard must be in place whenever the wheel is rotating. A wheel failure at grinding speed (typically 2,800 to 4,500 RPM) can propel fragments with lethal force.
- Never exceed the wheel's rated speed. Always verify that the machine spindle speed matches or is lower than the maximum RPM printed on the wheel.
- Do not grind on the side face of the wheel unless the wheel is specifically designed for side grinding. Standard straight wheels are intended for face grinding only; side forces can cause the wheel to crack.
- Never leave a running machine unattended. If you must step away from the machine, switch off both the feed drive and the motor and wait for the wheel to come to a complete stop.
- Keep loose clothing, hair, and gloves away from rotating parts. Do not wear gloves when reaching near the spinning wheel or the running feed mechanism.
- Ensure the machine is properly grounded (earthed) electrically to prevent shock hazard, especially when operating with water-based coolant systems.
- Store and handle blades edge-protected at all times — before grinding, during inspection, and when moving finished blades to storage. A sharpened scraper blade can cause serious cuts with minimal contact force.
Summary: The Complete Step-by-Step Process at a Glance
For quick reference, the full operating sequence for a rewinding knife grinding machine is summarized below:
- Pre-operation inspection: Check grinding wheel condition and speed rating, verify mechanical integrity, inspect coolant system, put on PPE.
- Parameter setup: Set grinding angle (15°–45° per blade type), select infeed depth (0.005–0.10 mm per pass based on operation type), set feed speed (1–3 m/min starting rate).
- Blade preparation: Clean blade, check flatness (max bow 0.3 mm/m), verify dimensions against machine capacity.
- Blade mounting and alignment: Load into clamp, verify parallelism to wheel face (max 0.05 mm end-to-end variation), thread through rewinding feed path.
- Grinding execution: Start coolant → start wheel motor → engage feed → monitor sparks, sound, temperature, and blade discoloration throughout each pass.
- Wheel dressing (as needed): Dress wheel every 2–4 hours of use or when glazing symptoms appear; 2–3 dressing passes at 0.02–0.05 mm per pass.
- Post-grind inspection: Examine edge under magnification for burr, chipping, burn marks, and uneven bevel width; measure bevel angle; deburr with honing stone.
- Shutdown and maintenance: Retract blade → run wheel unloaded 30–60 seconds → stop wheel → stop coolant → clean machine → oil sliding surfaces → log the session.
Following this sequence consistently will produce high-quality, precisely ground scraper blades, extend the service life of the grinding machine and grinding wheels, and maintain a safe working environment for every operator. The rewinding grinding method — when correctly applied — enables continuous, stable, and repeatable blade sharpening that is difficult to achieve with conventional single-pass grinding methods, making it the preferred choice for professional blade maintenance in printing, coating, film processing, and industrial scraping applications.
Related products
-
-

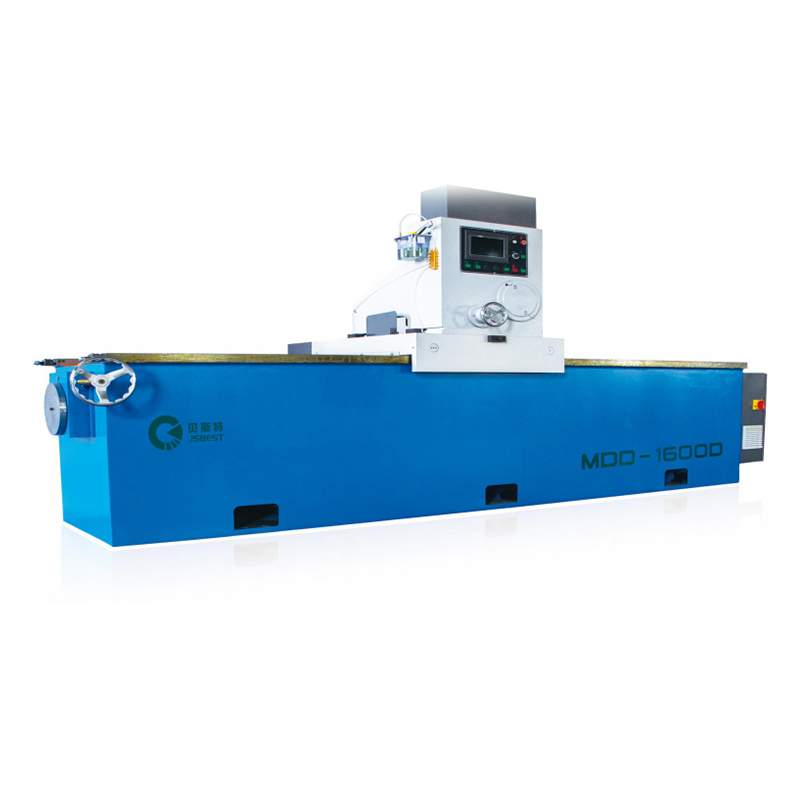
• The whole machine adopts a high-strength gantry-type welding structure, with a solid and compact o...
See Details -
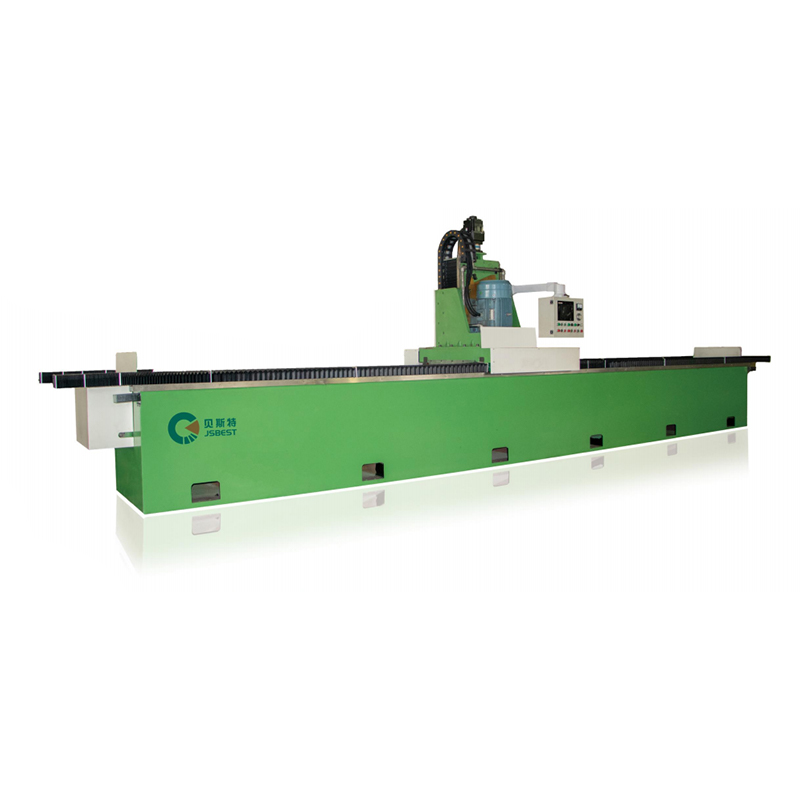
• The grinder adopts a gantry-type bed, high-quality steel plate welding, high-temperature tempering...
See Details -
• A high-strength welded steel structure is adopted to eliminate the internal stress of the machine ...
See Details -

Double-Head Knife Grinding Machine is an efficient grinding equipment that combines rough grinding a...
See Details -
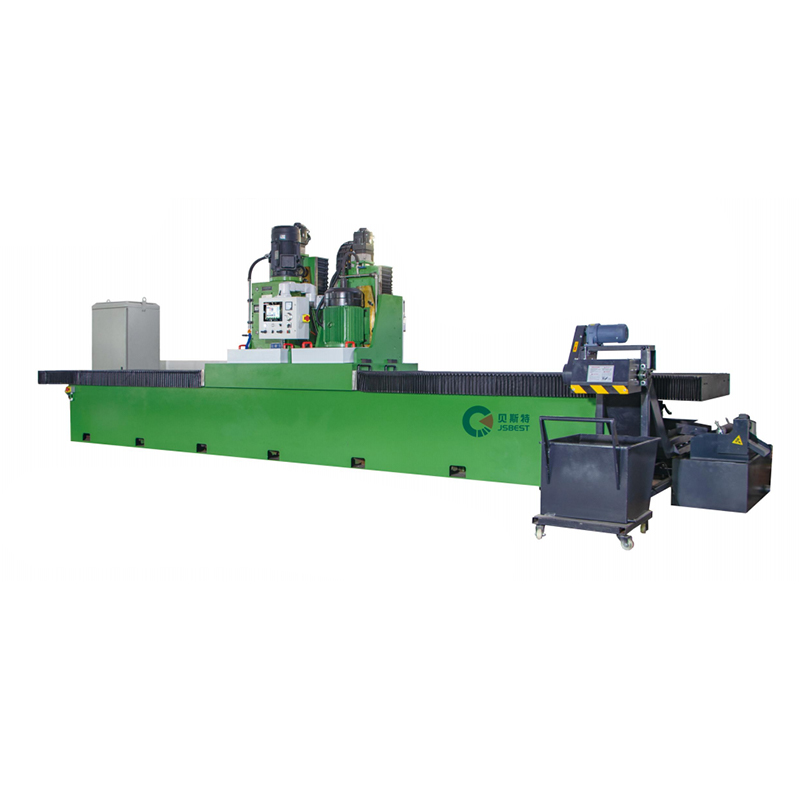
Heavy-Duty Surface Milling And Grinding Machine is an efficient processing equipment that integrates...
See Details -
• This round knife grinder adopts a PLC program to control the automatic feeding part, which is easy...
See Details -

CNC Circular Knife Grinding Machine structural features:• High grinding accuracy, spindle and knife ...
See Details
- PRODUCT
- MDD Series Straight Knife Grinding Machine
- MYD Series Circular Knife Grinding Machine
- MCD Series Rewinding Knife Grinding Machine
- QUICK LINKS
- About Us
- Manufacturing
- Industry Solutions
- Downloads
- Contact
- CONTACT US
-
-
 No.99, Huanghai South Road, Tangyang Town, Dongtai City, Jiangsu Province, China
 -
 0086-13818631306
 -
 +86-515-85652988
 -

-

